My Letterpress Design Process
-
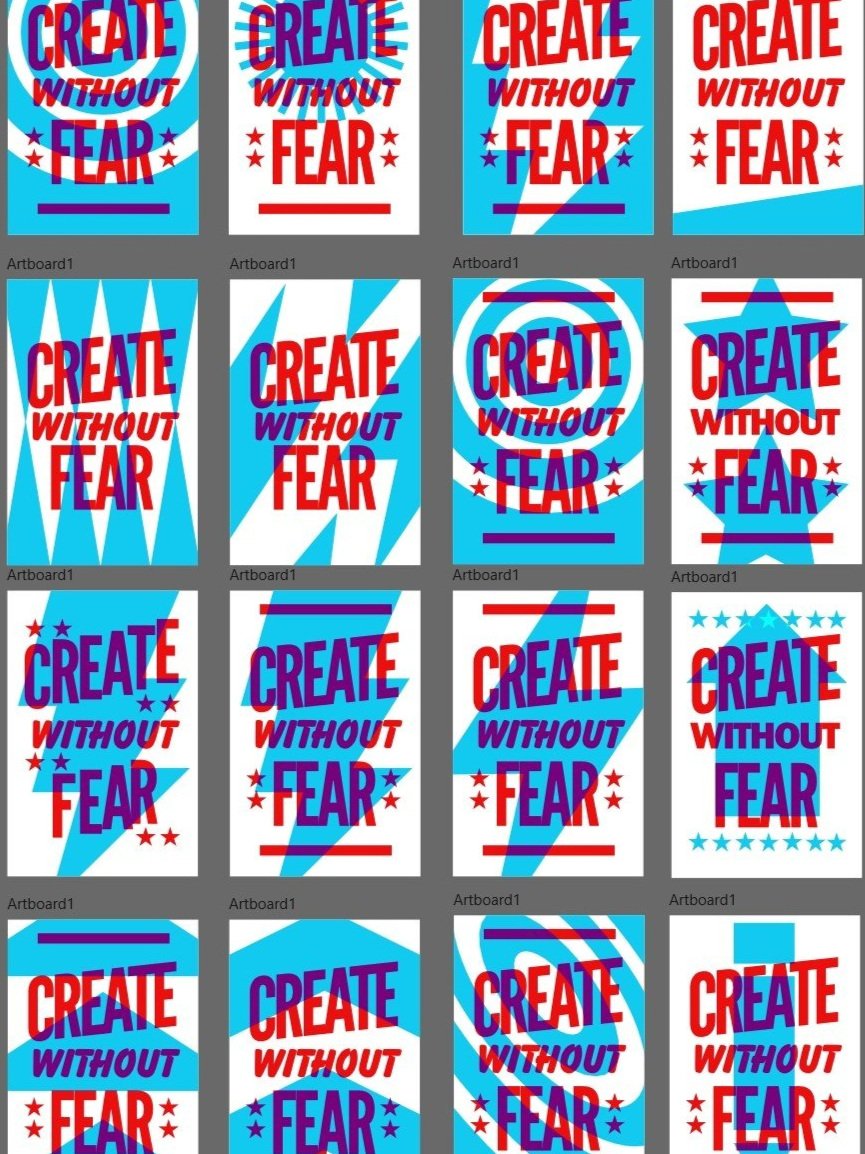
Design
Every new print begins with a concept that I find inspiring either visually or philosophically. From there, font options are selected from my catalog, roughly blocked in on paper, then usually digital mockups are done to explore space, type, and color before committing to the physical process of letterpress.
Letterpress design is often an act of compromise: utilizing what wood fonts I have available, what fits on the page, and what I want to invest in hand carving or laser engraving for new assets. -
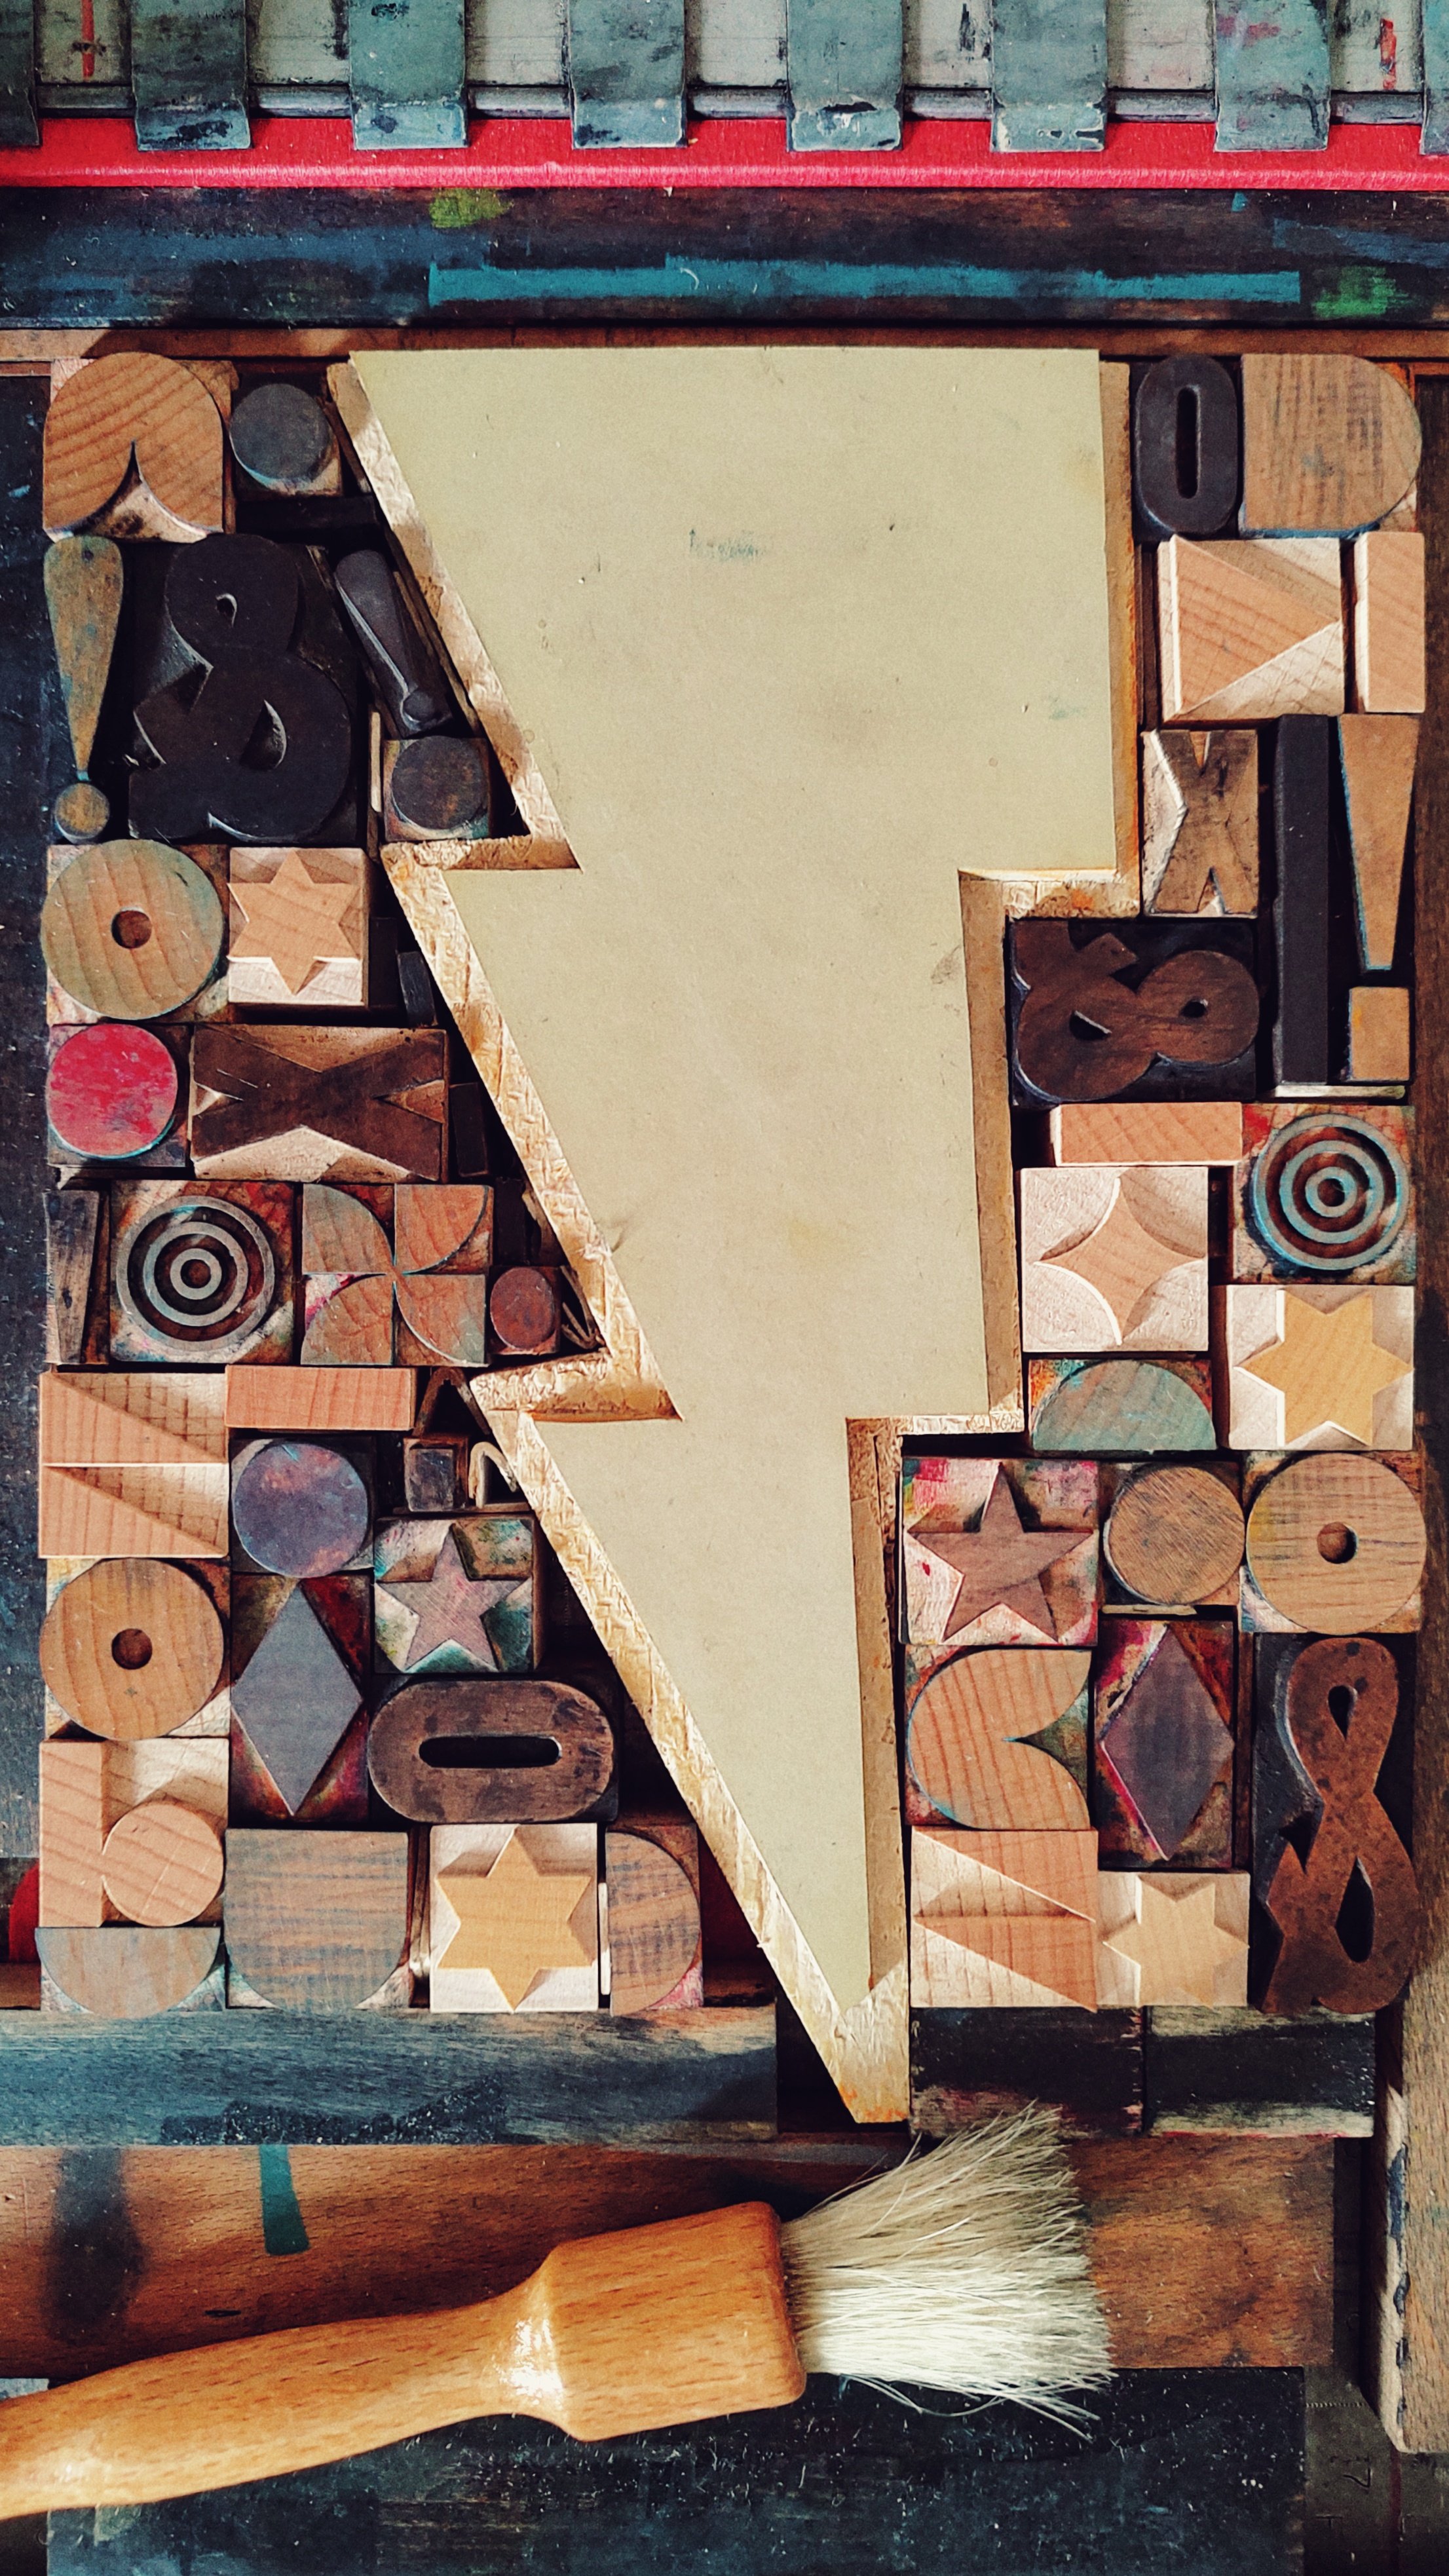
Physical Assets are Assembled
Based on the previous sketches and mockups, the final type is placed, kerned, and finalized. Custom elements are carved from linoleum or wood. Test prints are made and adjusted for spacing, aesthetics, and printability.
This physical assemblage is then “locked onto” the press and is ready for ink. Proofs are then run to check the design as well as the height of all the printing elements.
-
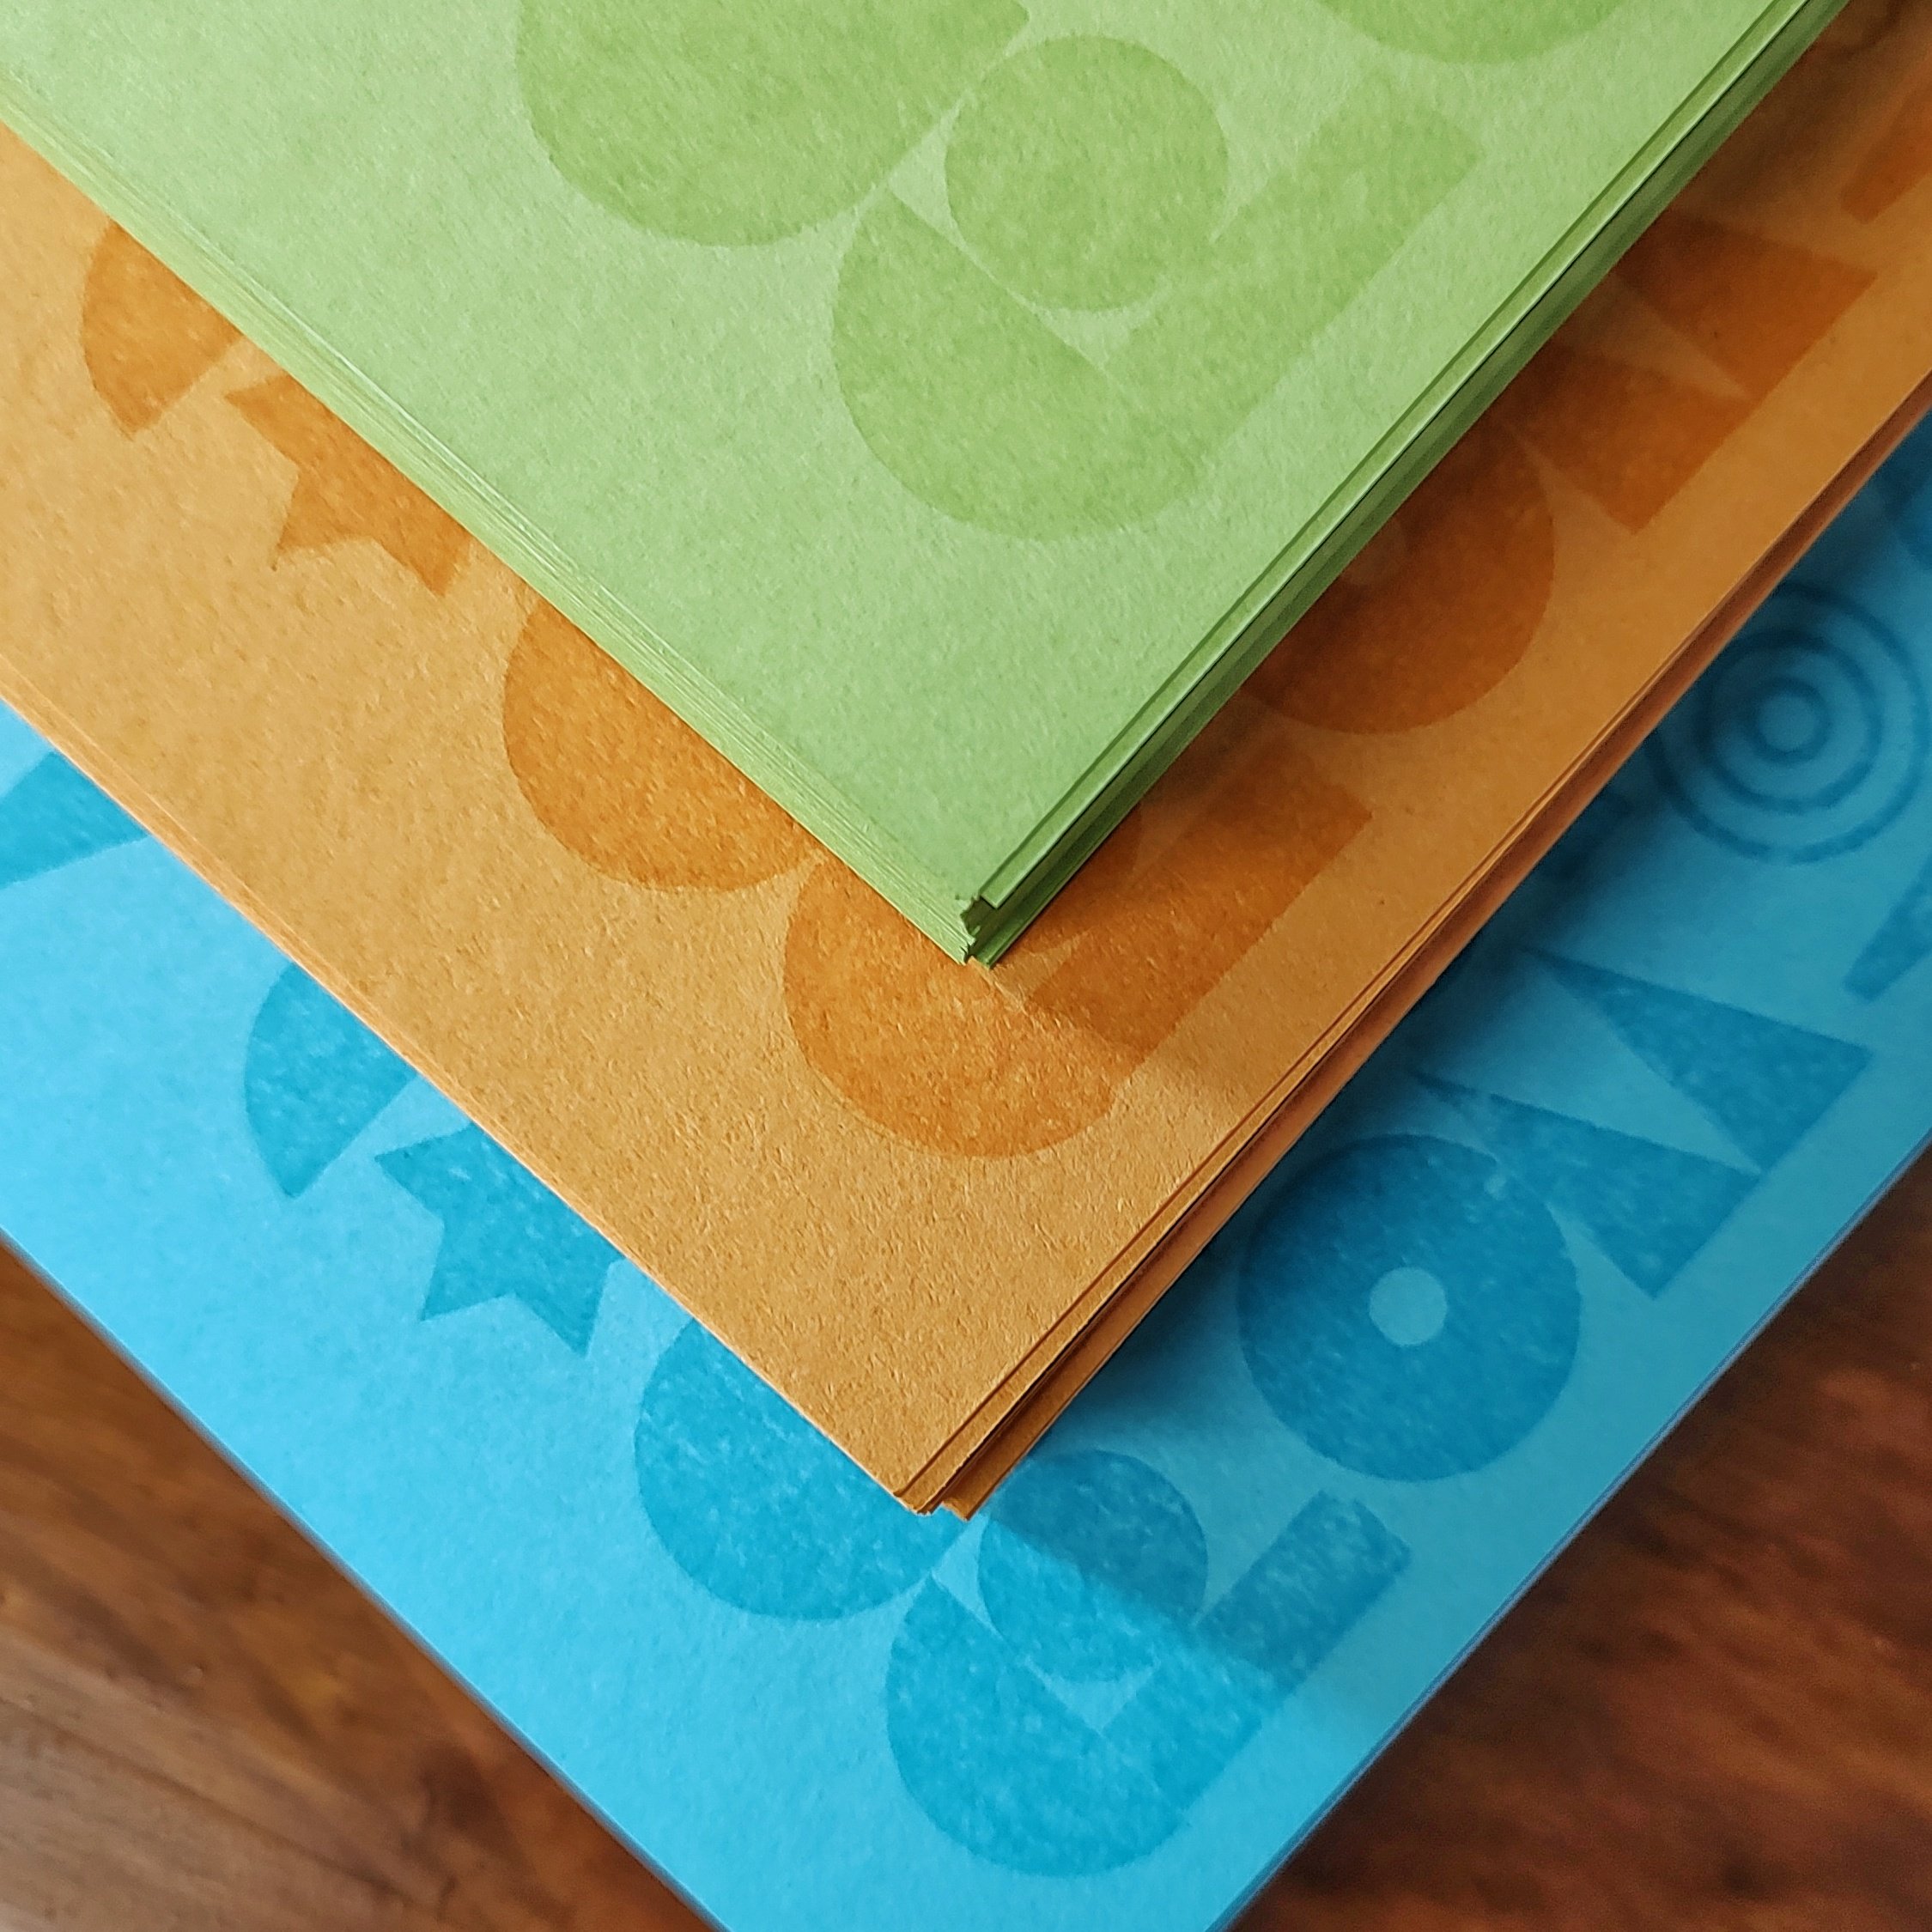
Paper & Prep
According to the look and feel desired for the print, paper is chosen and often ordered in. Then it is trimmed to a size larger than the final print, allowing room for such things as grippers, bleed, or other needs.
Some papers may also include a lower deckled, or ragged, fine art edge.
Paper selection has such a large impact on the final presence of the print. When possible, I often select papers from recycled or renewable sources.
Use it up, wear it out, make it do, or do without!
-
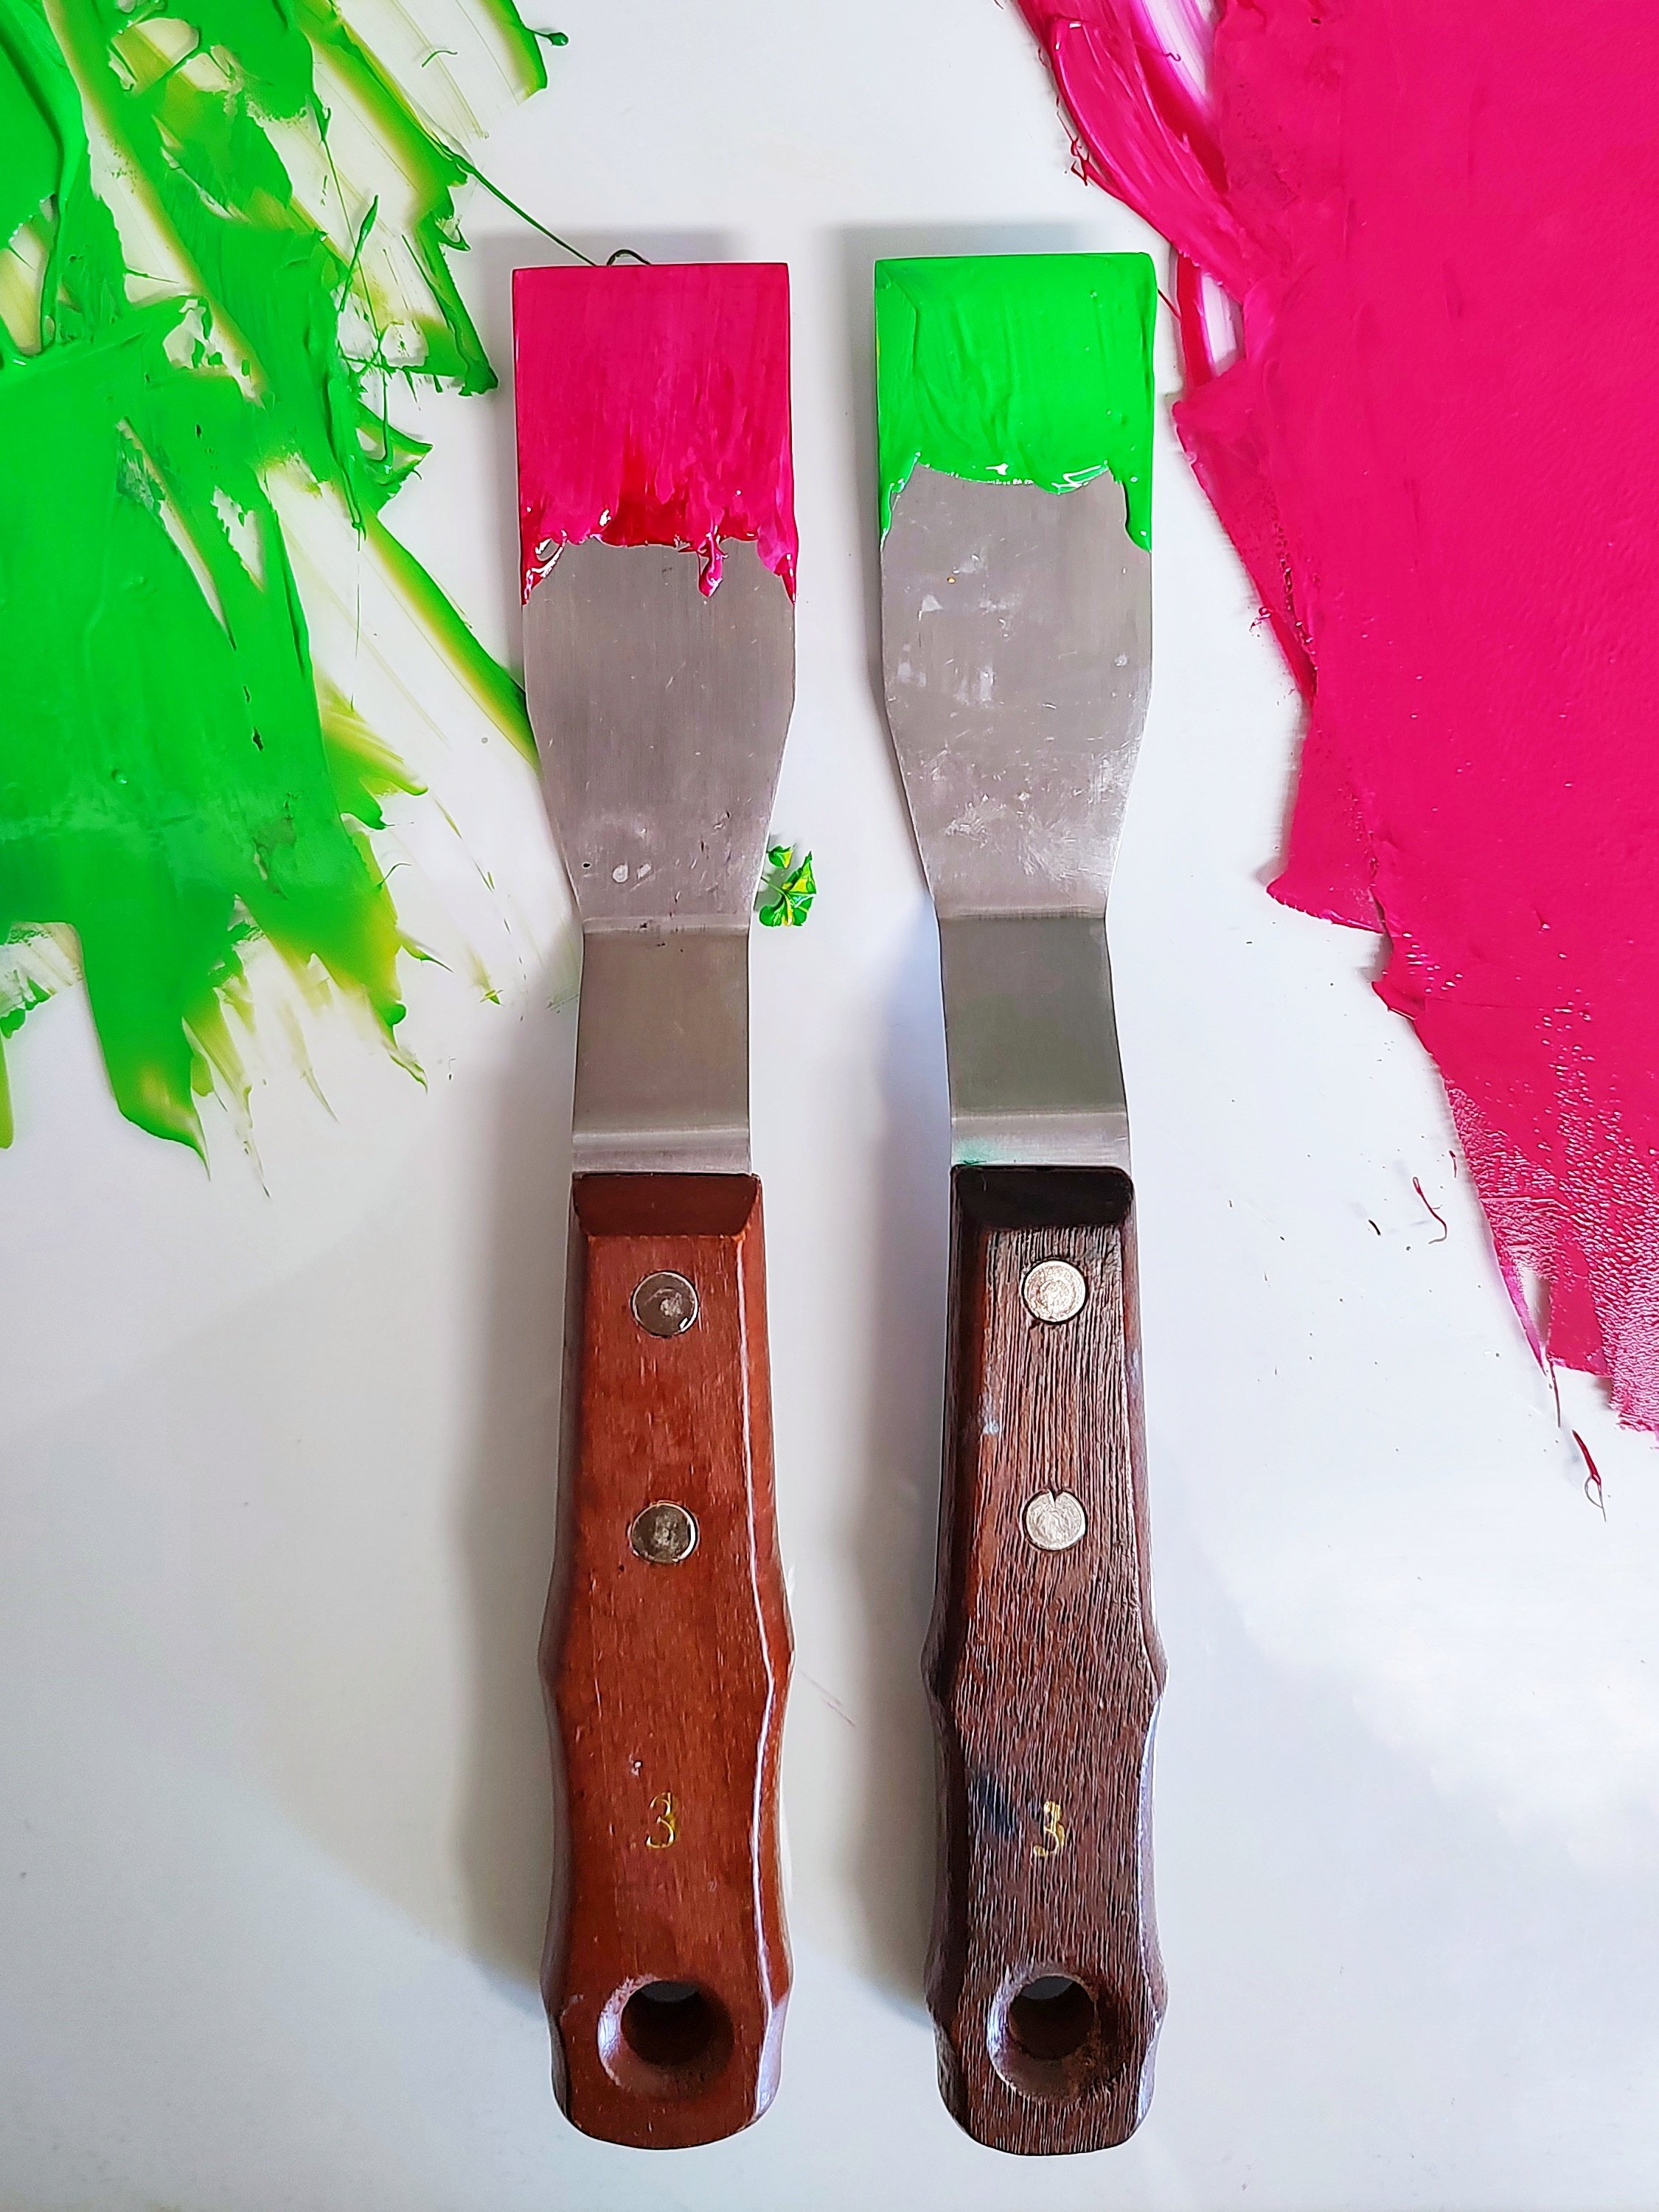
Ink is Mixed
The ink colors are usually custom mixed, carefully balancing color, transparency, and spread/tackiness.
Each pigment has it's own attributes and requires attention to mix so that different colors have similar qualities in the final print.
Especially for longer editions, the color may be mixed multiple times leading to some ink color variation across the series. -
Printing
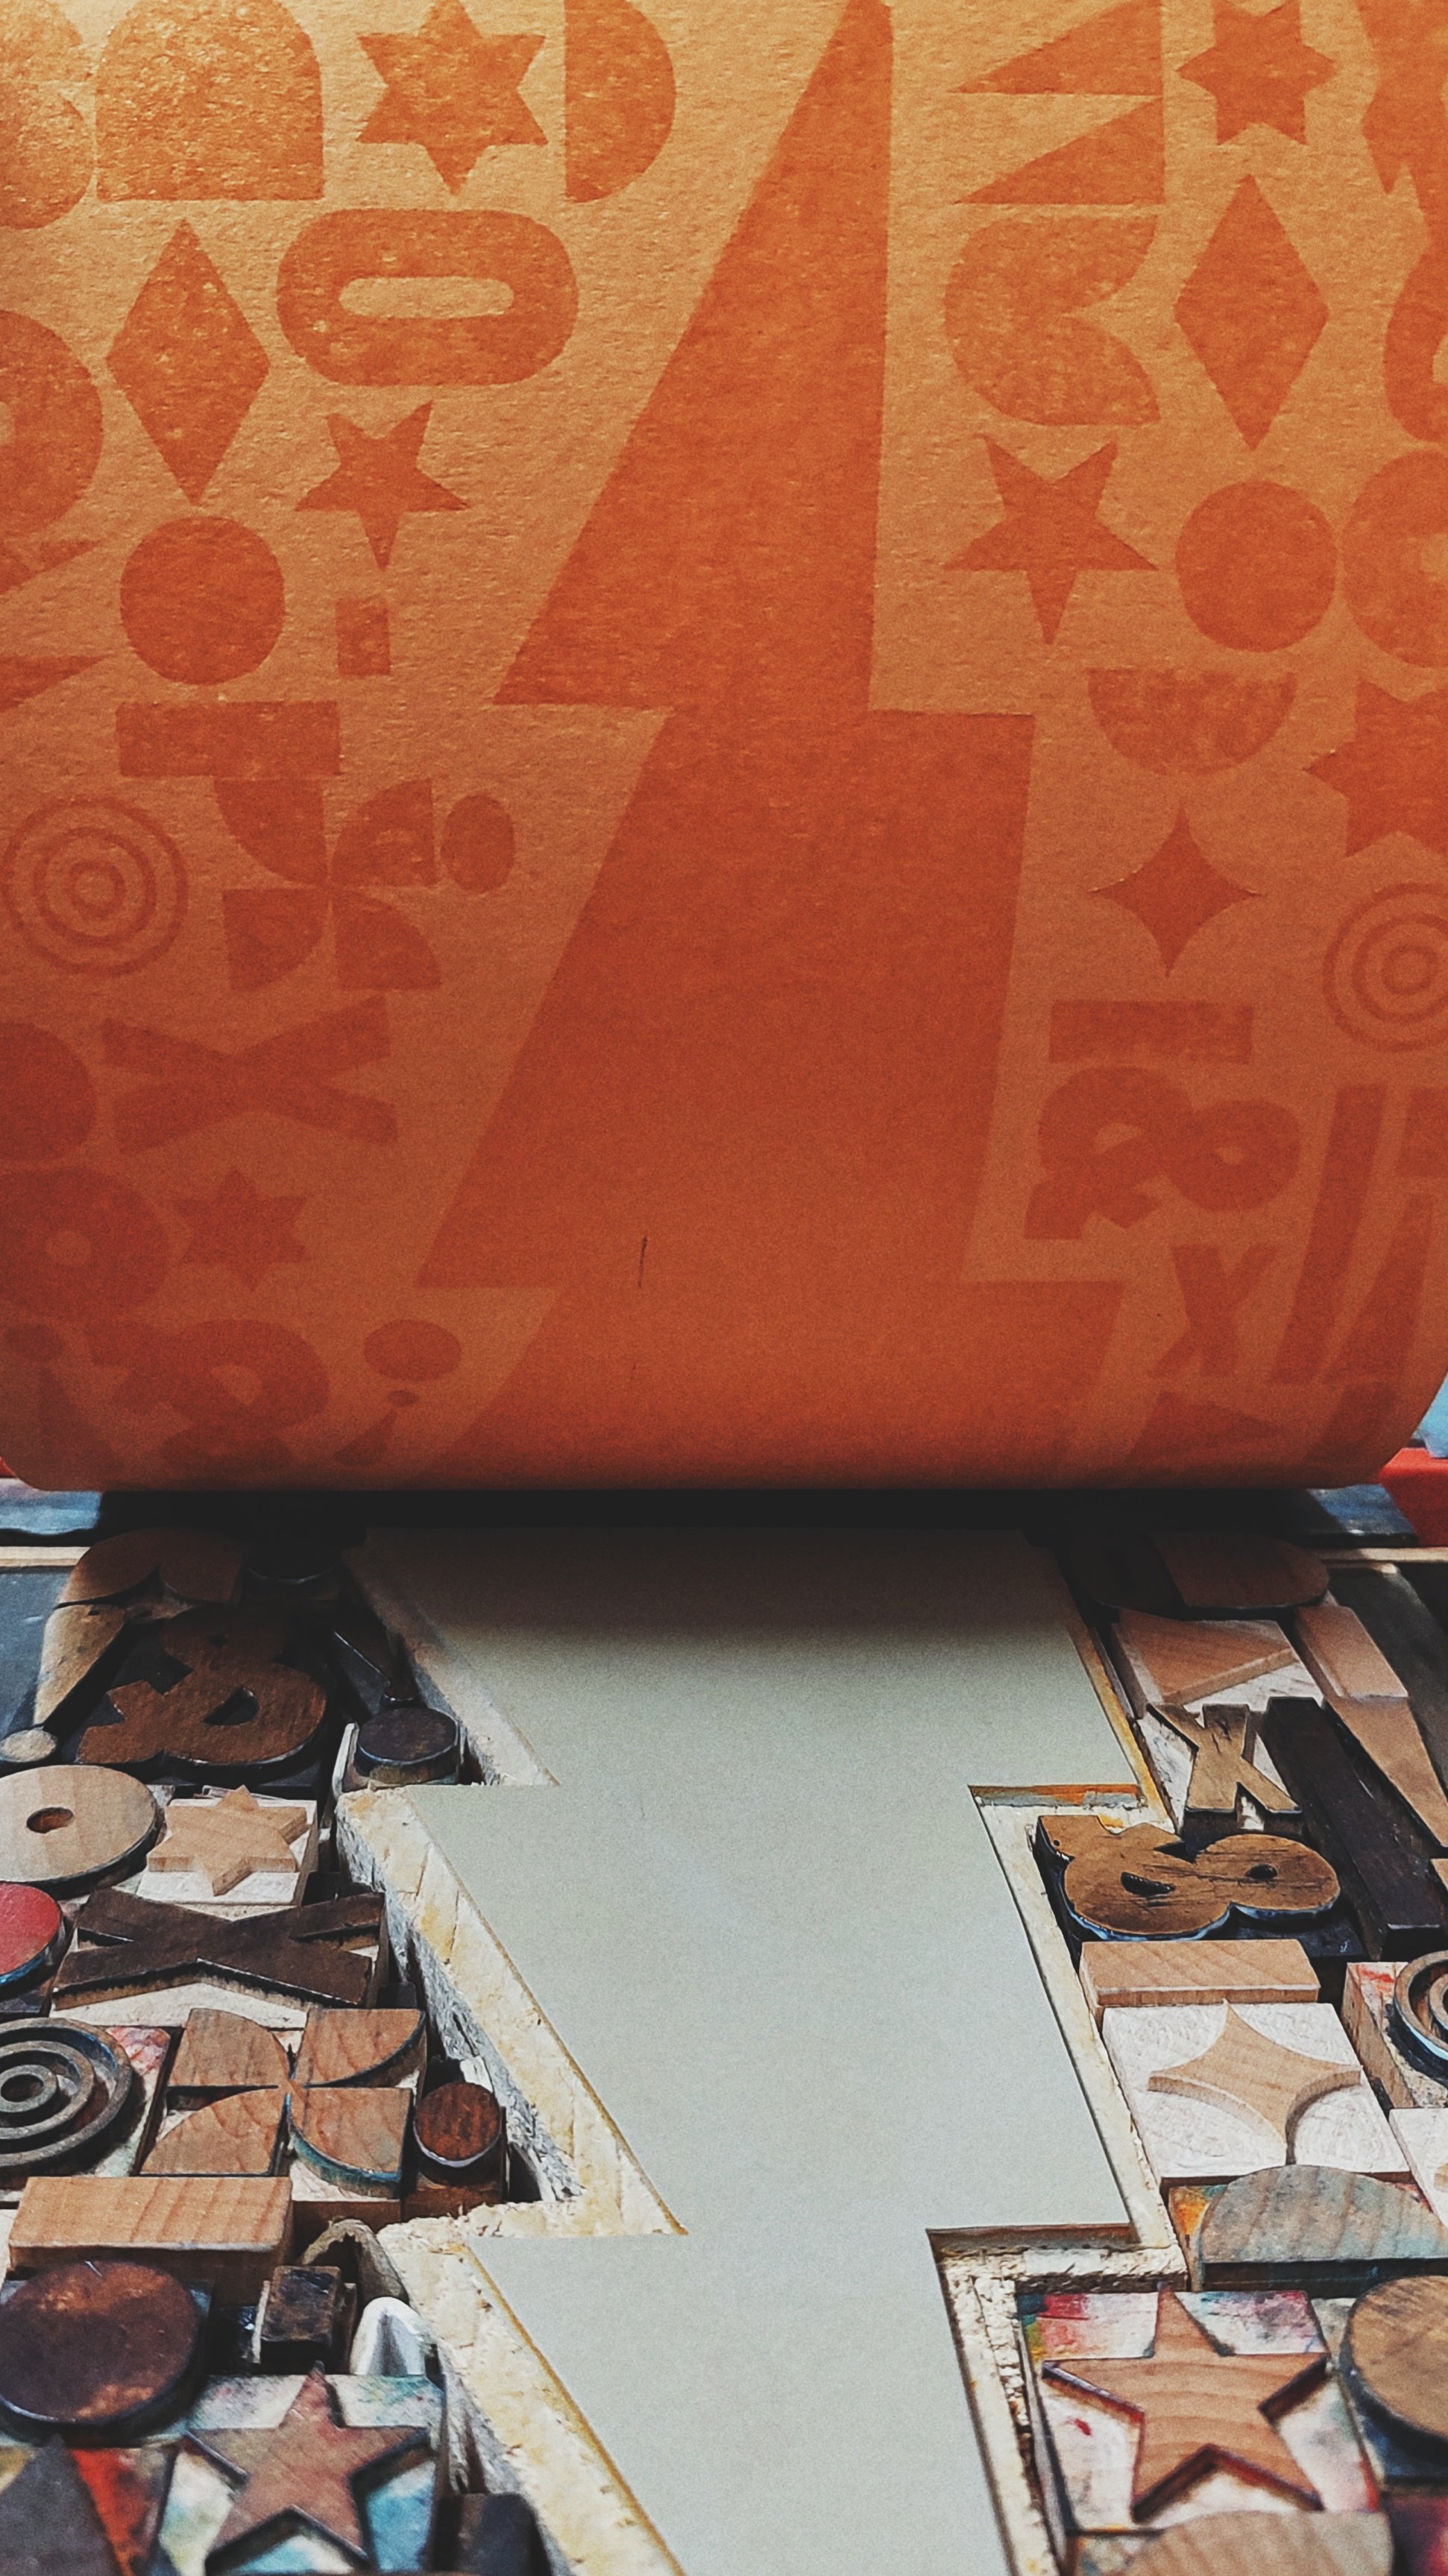
Finally it is time to put ink to paper!
Most prints are hand inked and hand pressed, though some smaller prints are run on a foot powered 1916 printing press I refurbished. Often times a print is run through multiple times, once for each color present on the page.
Each print will have unique ink transfer textures due to the analog nature of my printing, making every piece in the edition unique! -
Drying & Finishing
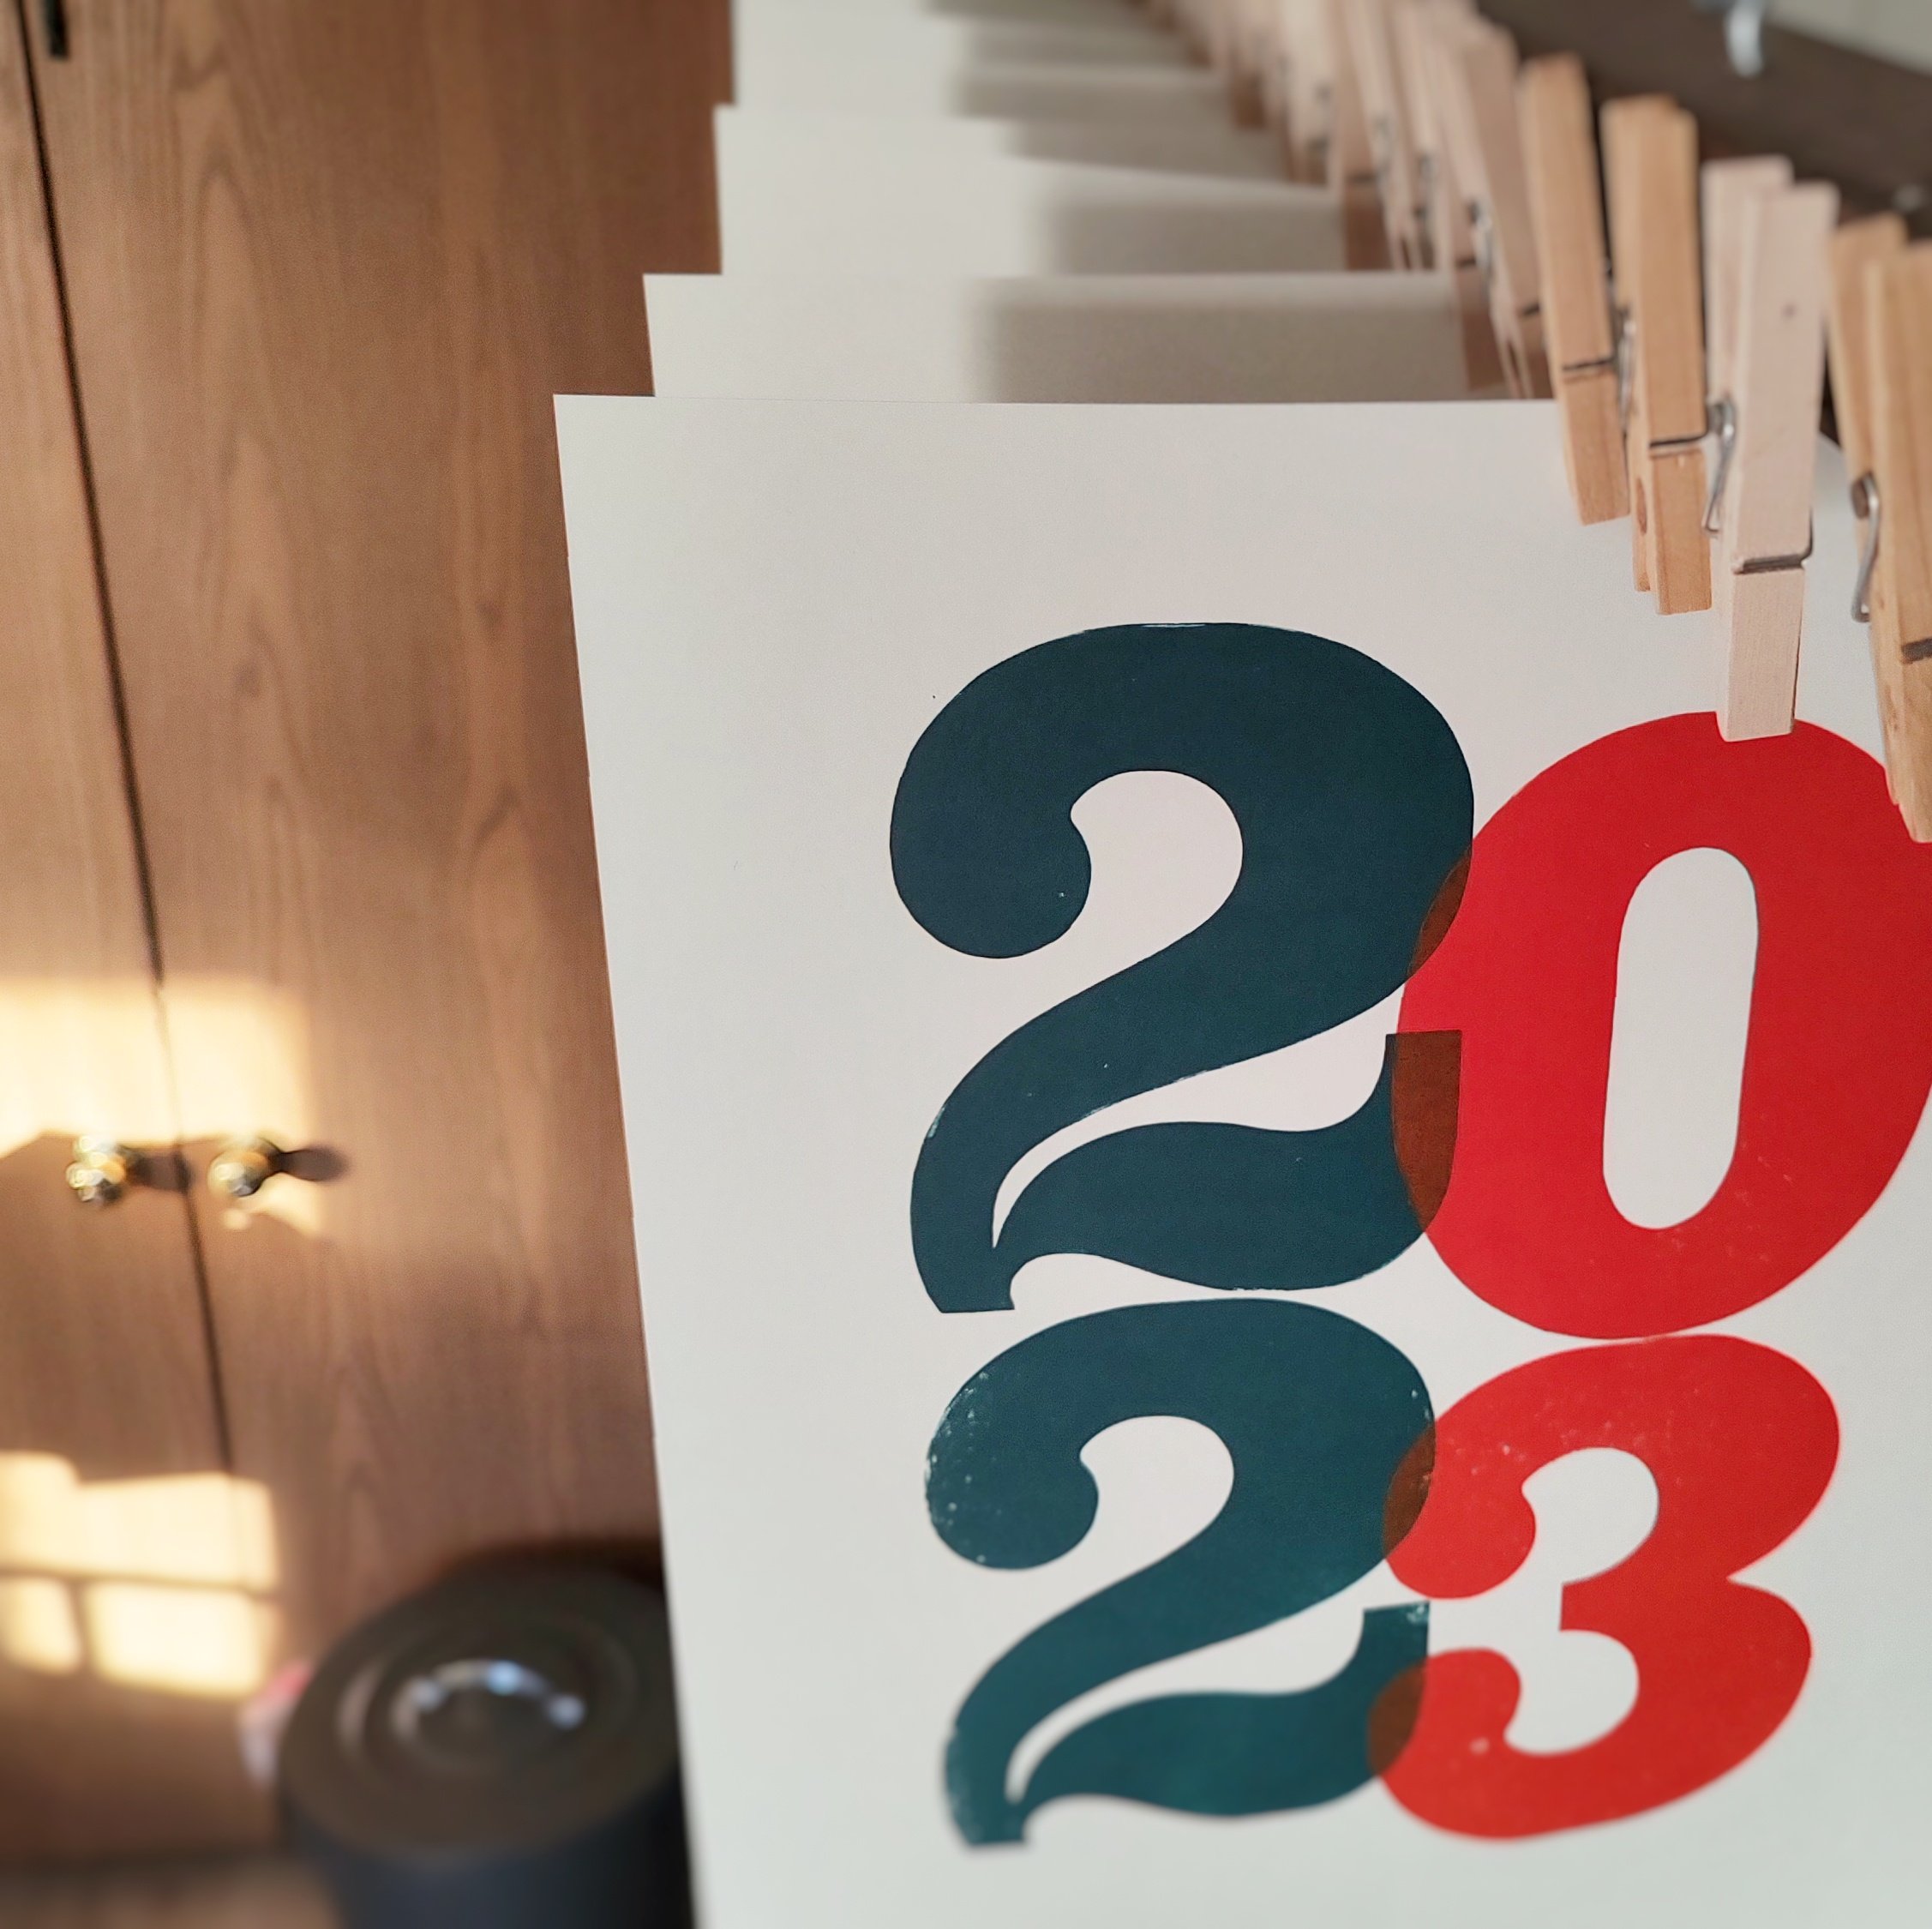
After each color, the print is hung to dry. Depending upon the time of year, this can take a few hours to a few days - my studio is highly influenced by the temperatures outside!
Once everything is dry, the paper is trimmed to the final dimensions, and signed and numbered.
Then they are carefully stored, ready to be shipped out to all of you or taken to in-person events.

